Getting started
Plugin Installation
In Plugins → Add plugin, search for the Packeta plugin and click Install.
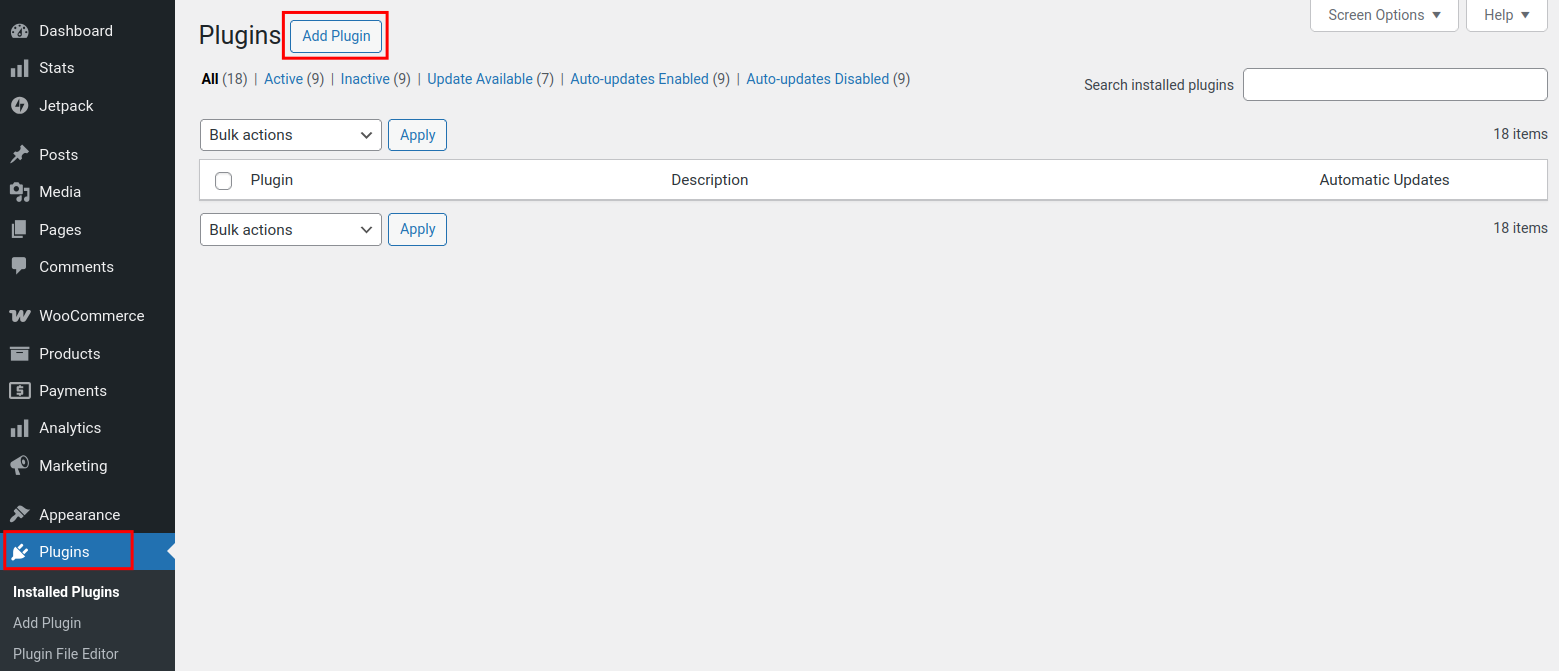
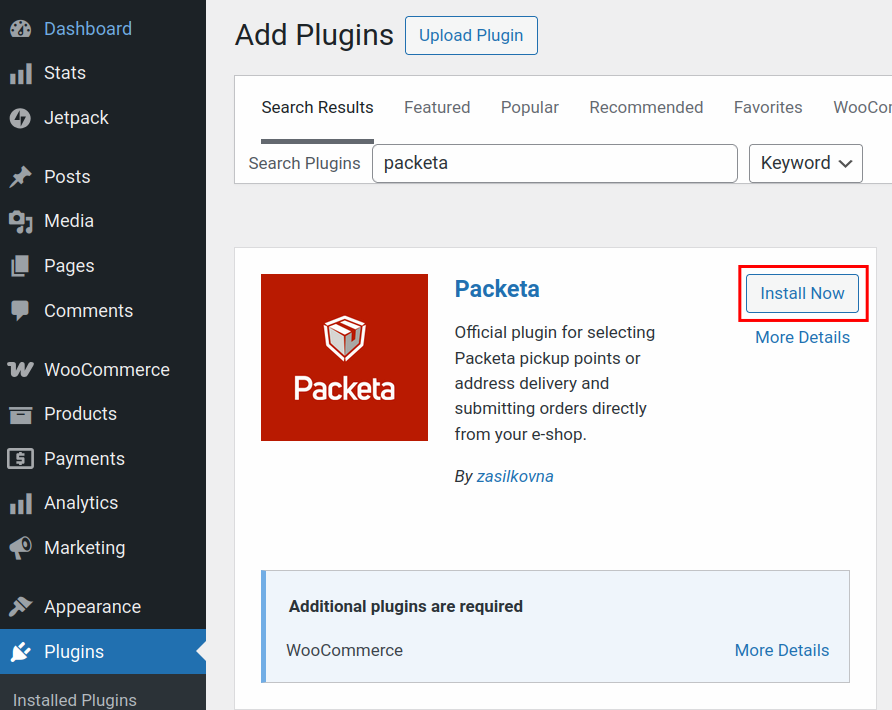
Then activate it. After successful installation, the plugin appears in your list of plugins. The settings can be found in the left panel under Packeta.
Basic Configuration
To successfully submit packets, you need to configure four basic areas:
Set up shipping Zones
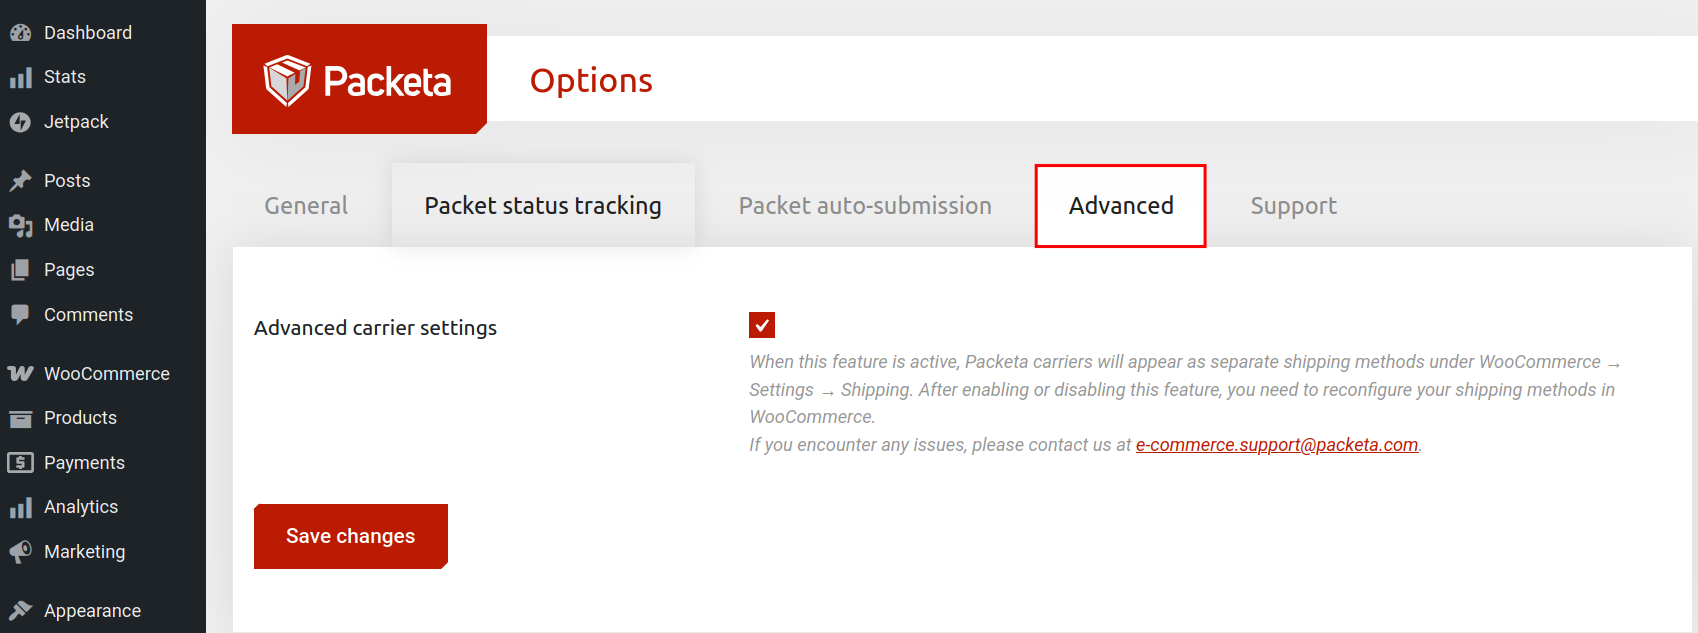
In Packeta → Settings → Advanced Settings, enable the advanced carrier settings.
In WooCommerce → Settings → Shipping, you will find all zones. You assign delivery methods to these zones that should be available within them.
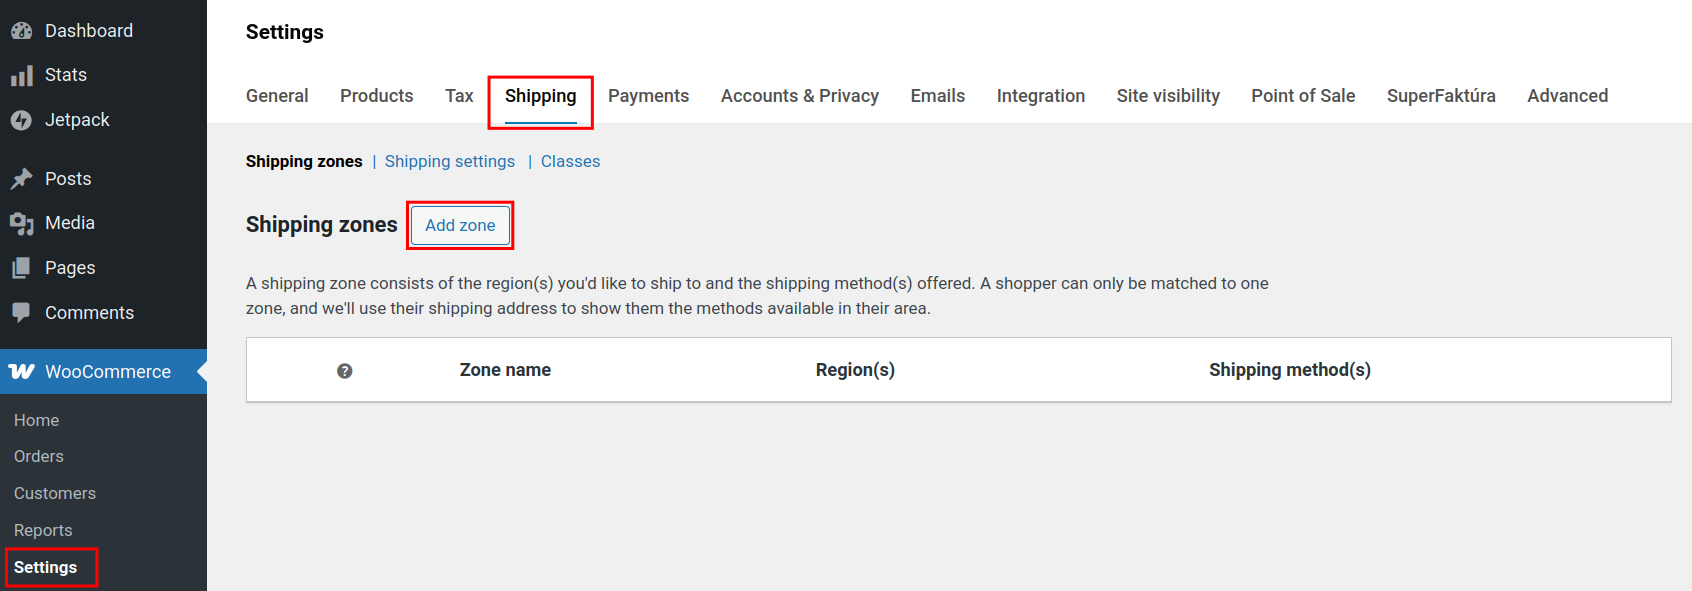
Click Add zone, name it, select the region, and add the shipping methods you want to appear in that zone.
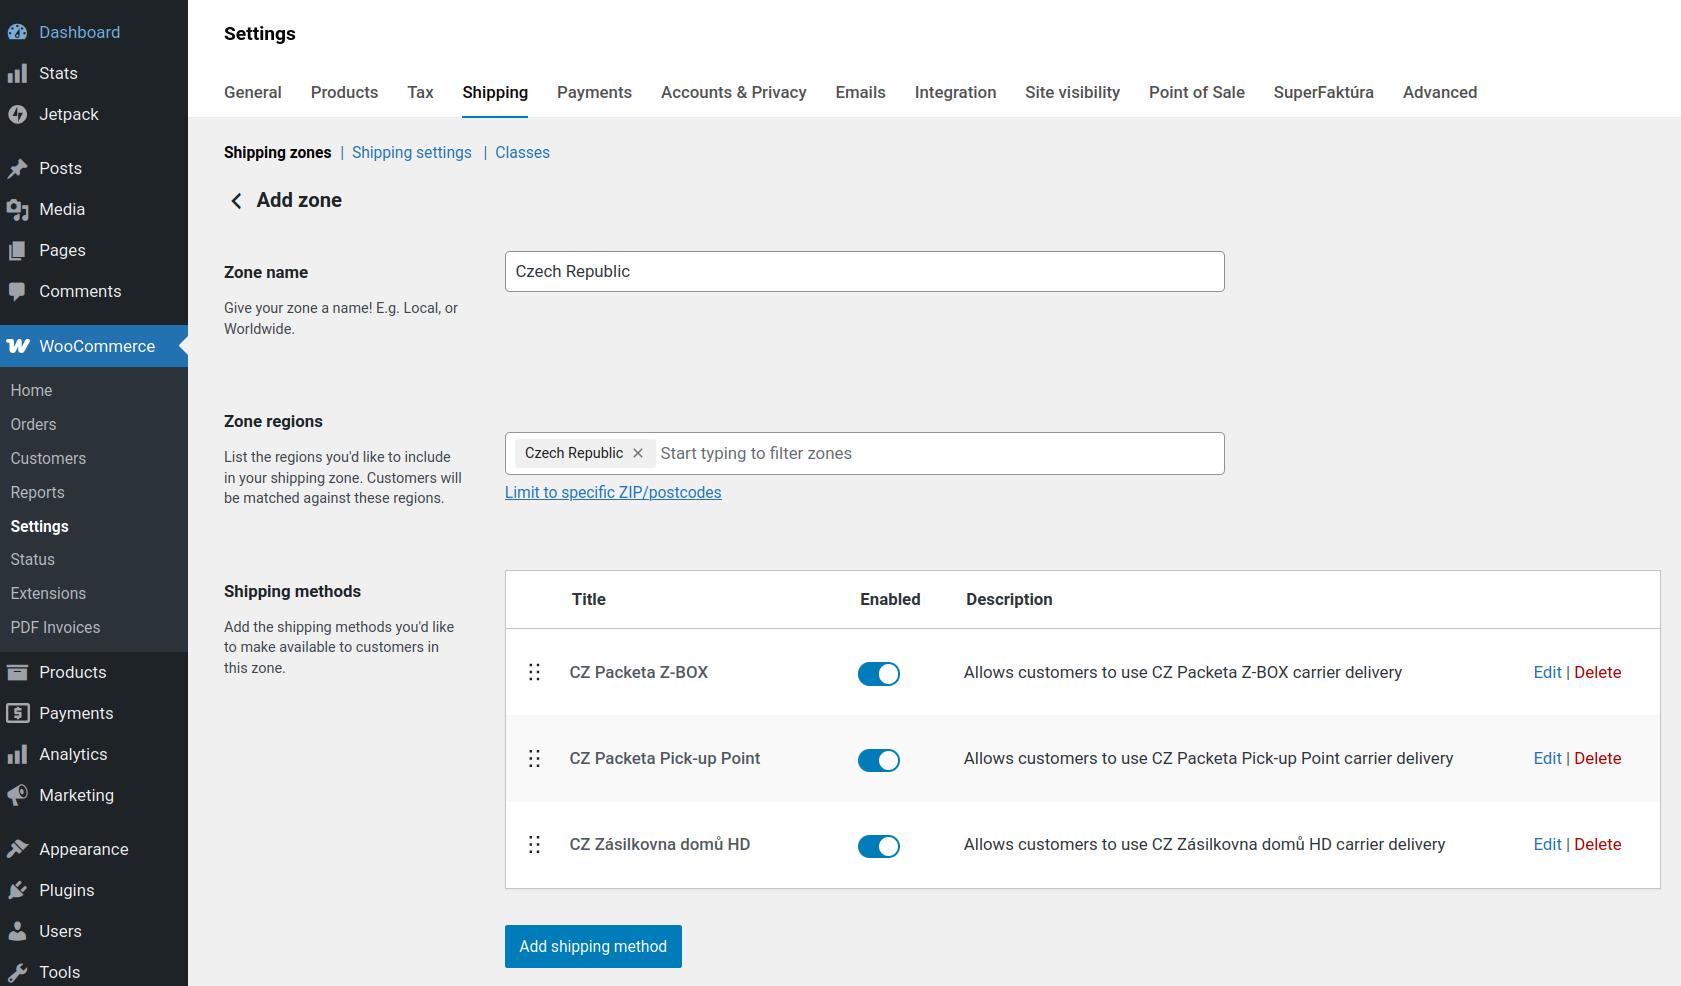
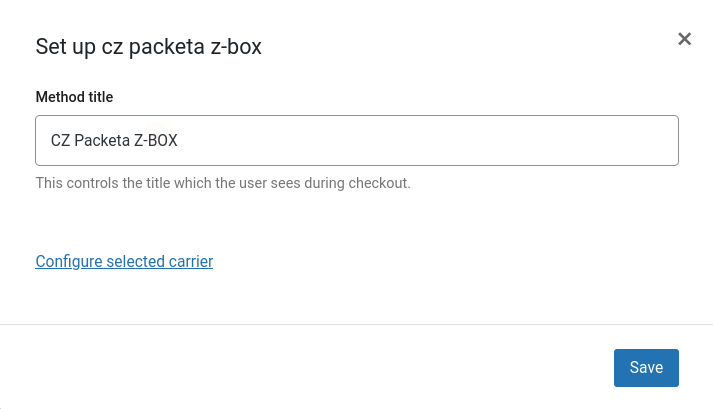
When choosing a carrier, you can configure it using the Configure selected carrier button.
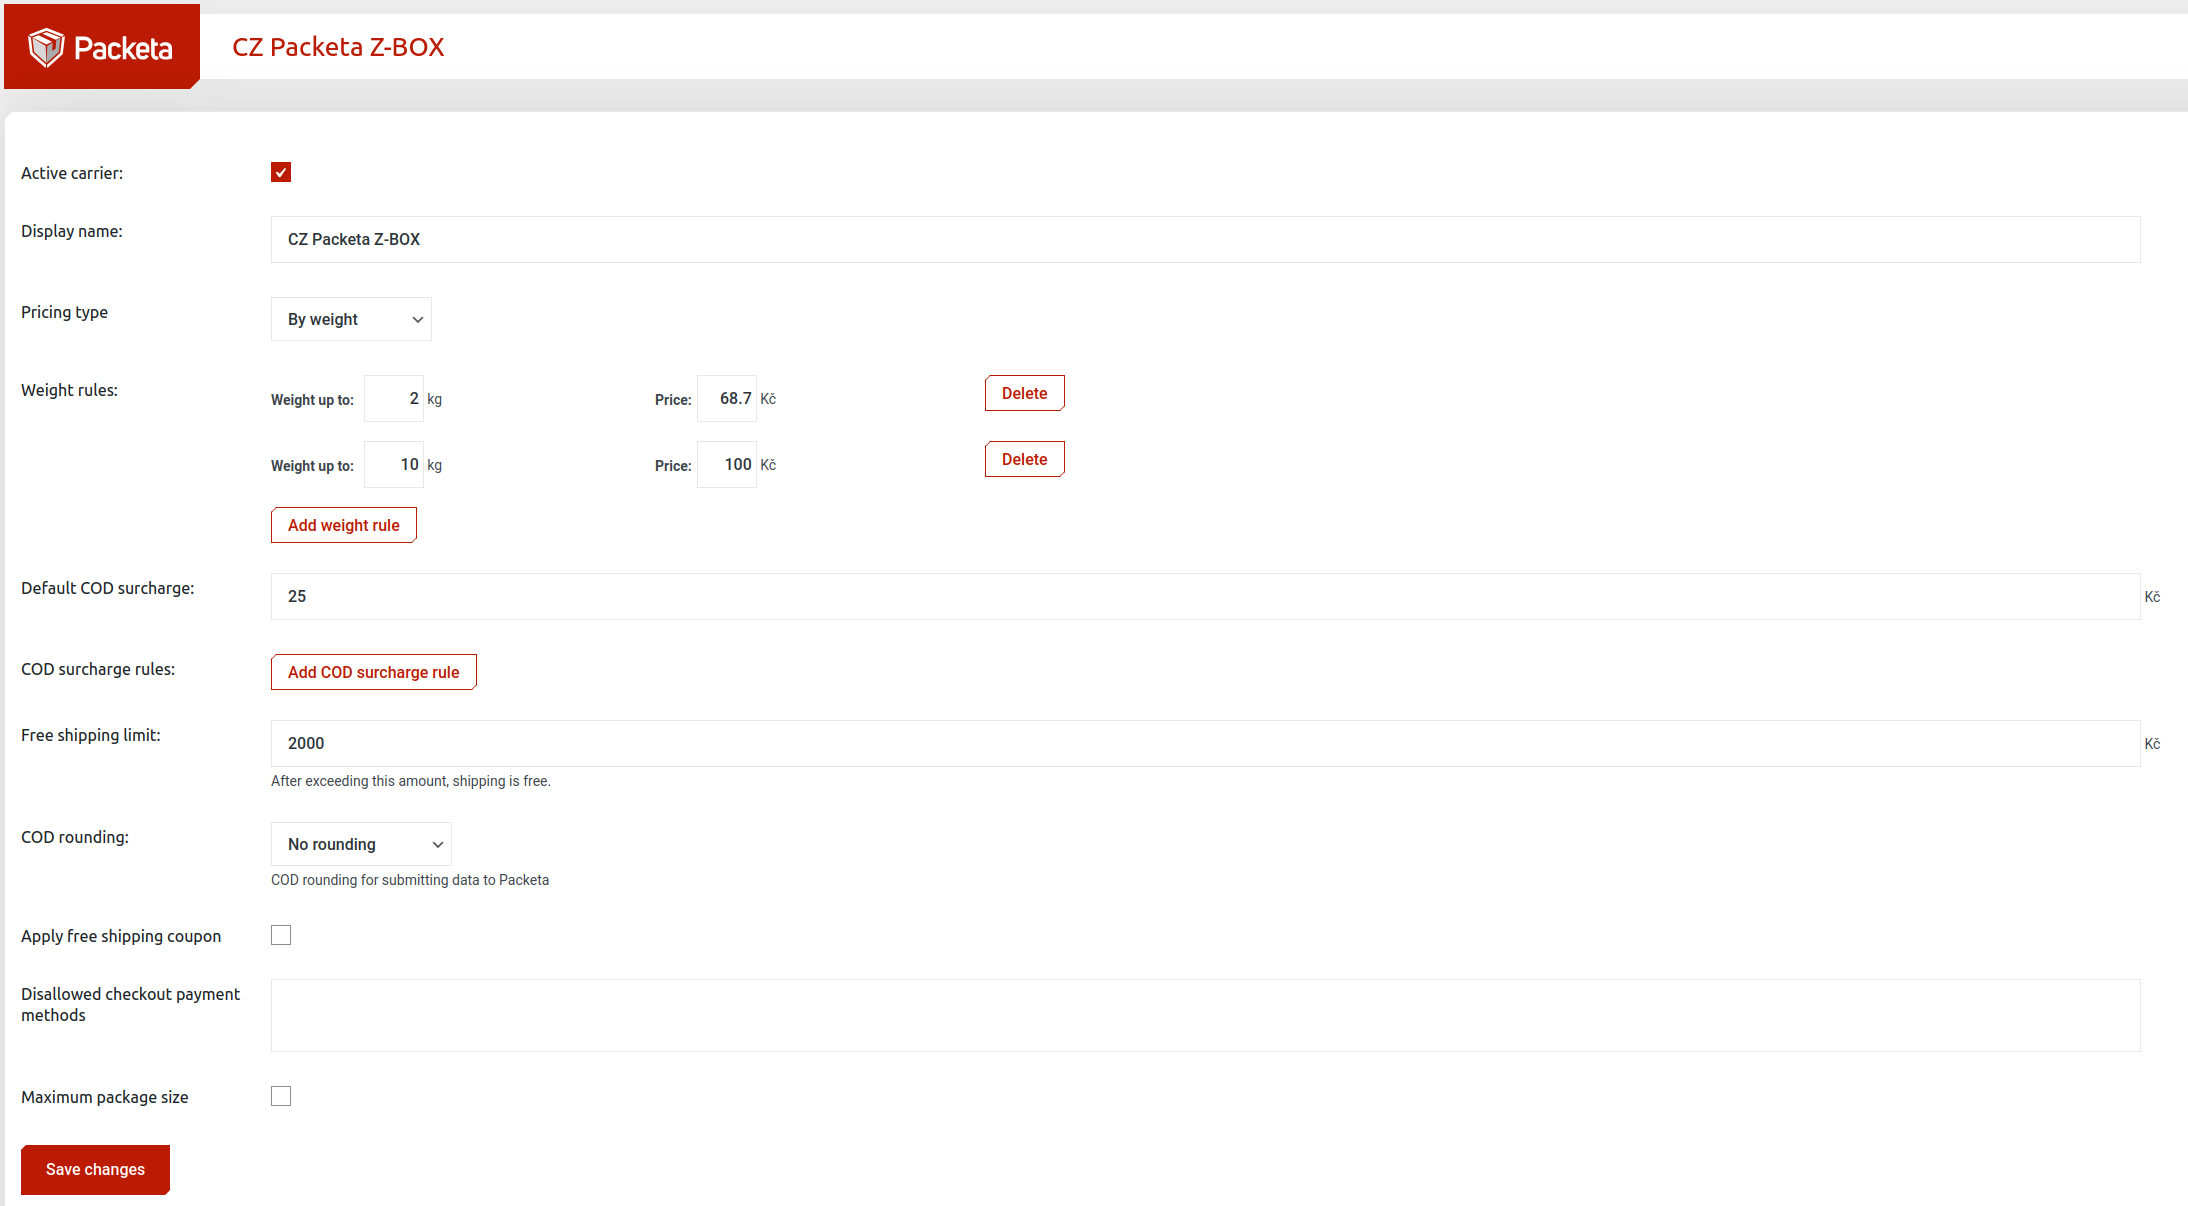
In its settings, you can select weight and size limits, COD surcharge, or free delivery rules.
Carrier Settings
In Packeta → Carrier Settings, update the carriers. For each country, you can enable and configure the available carriers.

Under the Configure button, specify the individual options for that carrier:
- Maximum product value and its rules
- COD surcharge and its rules
- Free delivery over a certain amount
- Age verification surcharge
- COD rounding
For delivery to external network (Foxpost, Paczkomaty, etc.) allow external pick-up points in your client section.
Product Settings
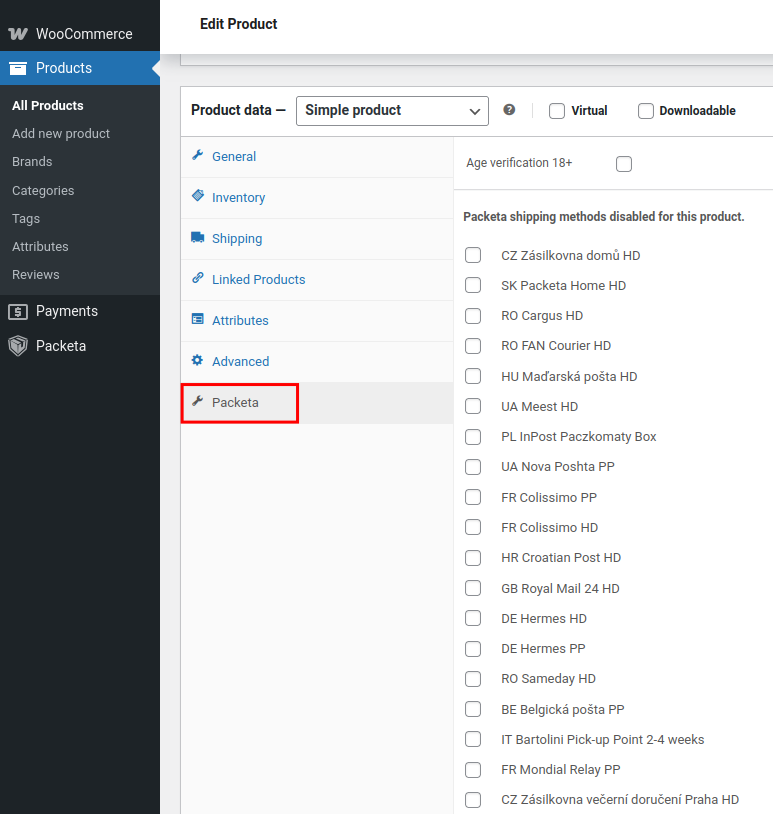
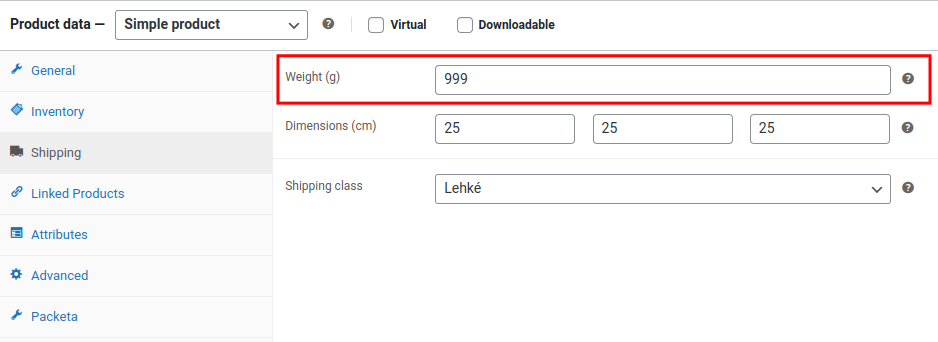
In the Products section, open a product detail and click the Packeta tab. Here you can enable age verification upon pickup: Age Verification 18+. In the Shipping tab, you can define the weight and size of the product for calculating the total packet weight.
We recommend setting a weight for every product. If the weight is not filled in, you will need to enter it manually in the packet detail.
General Plugin Settings
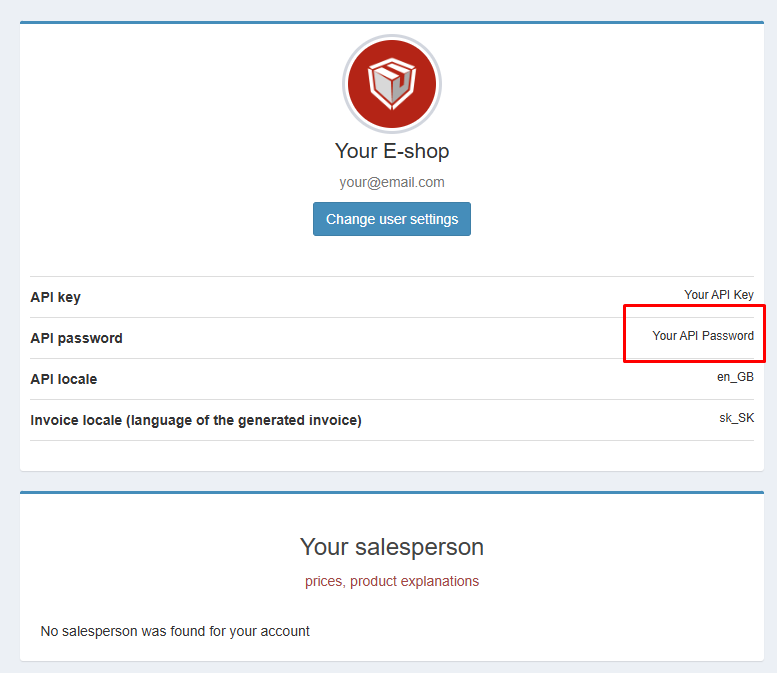
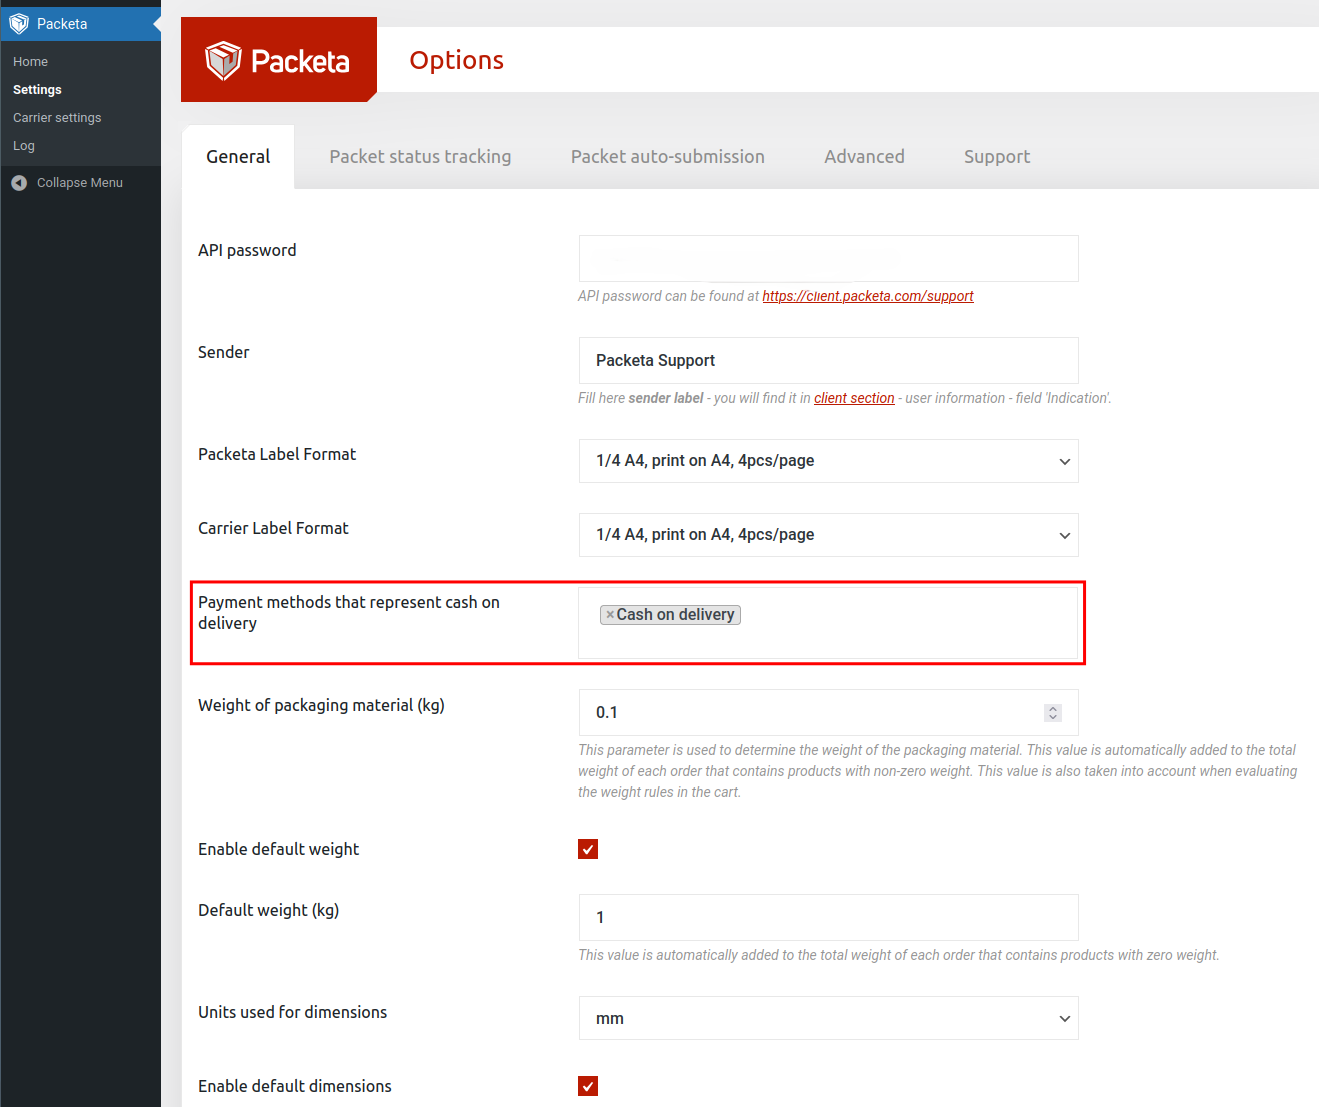
In the next step, connect your plugin with the Packeta client section. In Packeta → Settings, copy the API password from the client section into the API field.
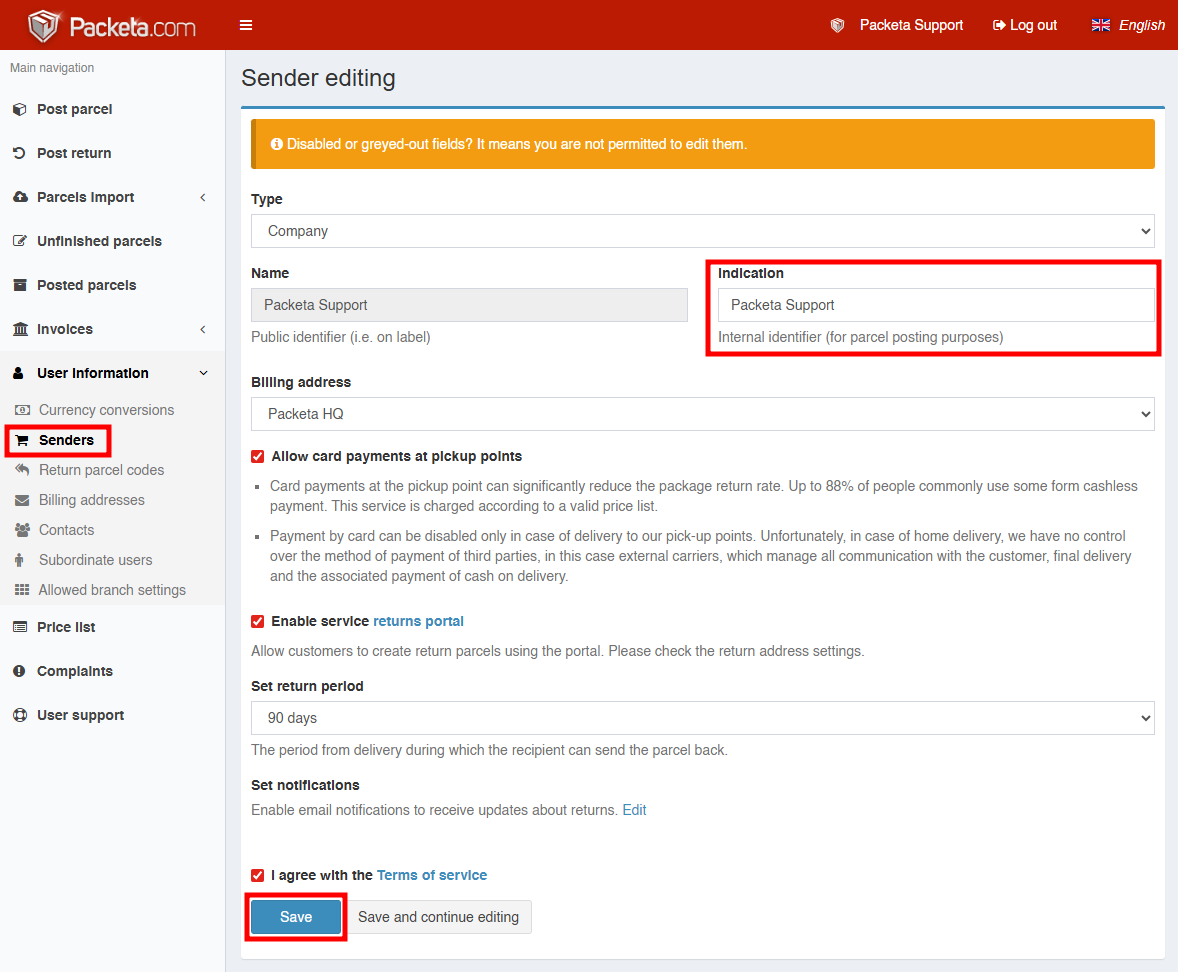
In the Sender field, enter the Indication of the sender (found in the fourth column in the Sender section).
Select the label format. We recommend the A6 format (1/4 A4), either 4 pcs/page for printers or 1 pc/page for label printers. Finally, select the payment method for COD. An order using this payment method will have a COD amount equal to the total order value.
How to submit a packet
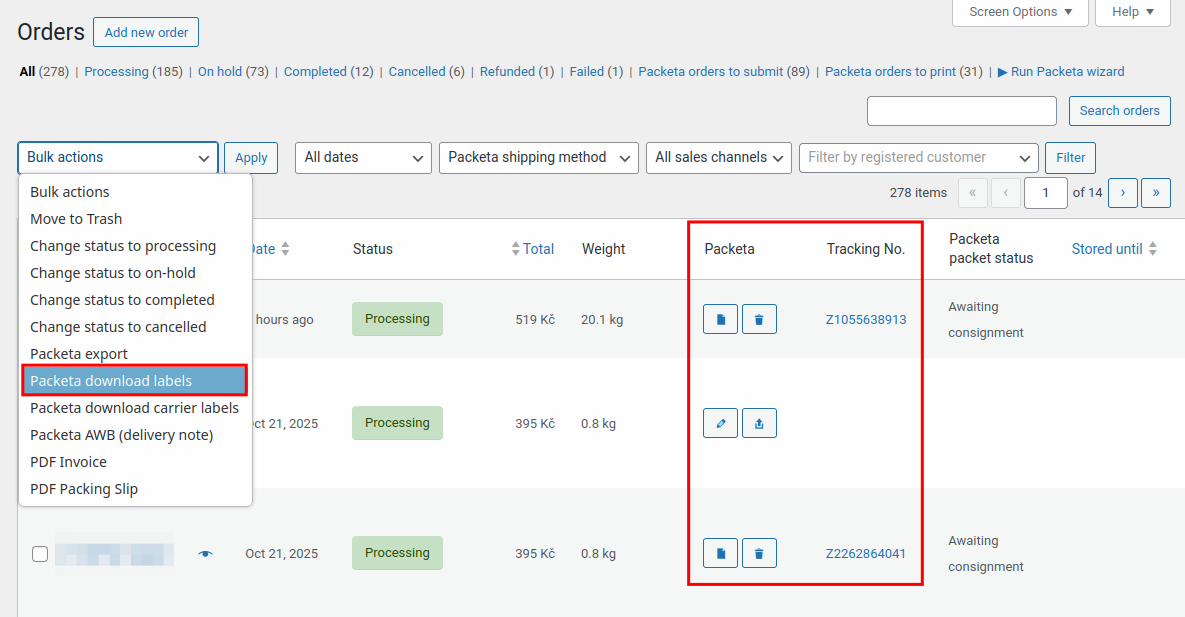
You create a packet in WooCommerce → Orders. You can submit packets individually using the “send to Packeta” icon  , or in bulk using the “Submit packets to Packeta” action.
After creating the packet, a packet number (tracking number) appears. You can download the label using the “print label” icon
 , or download multiple labels at once using the bulk action.
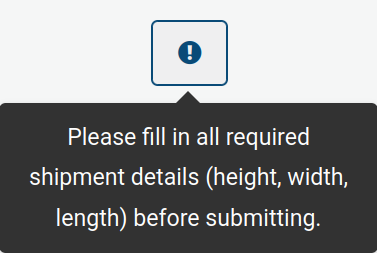
If the packet cannot be created, an exclamation icon appears. If information is missing in the order, the exclamation mark is blue.
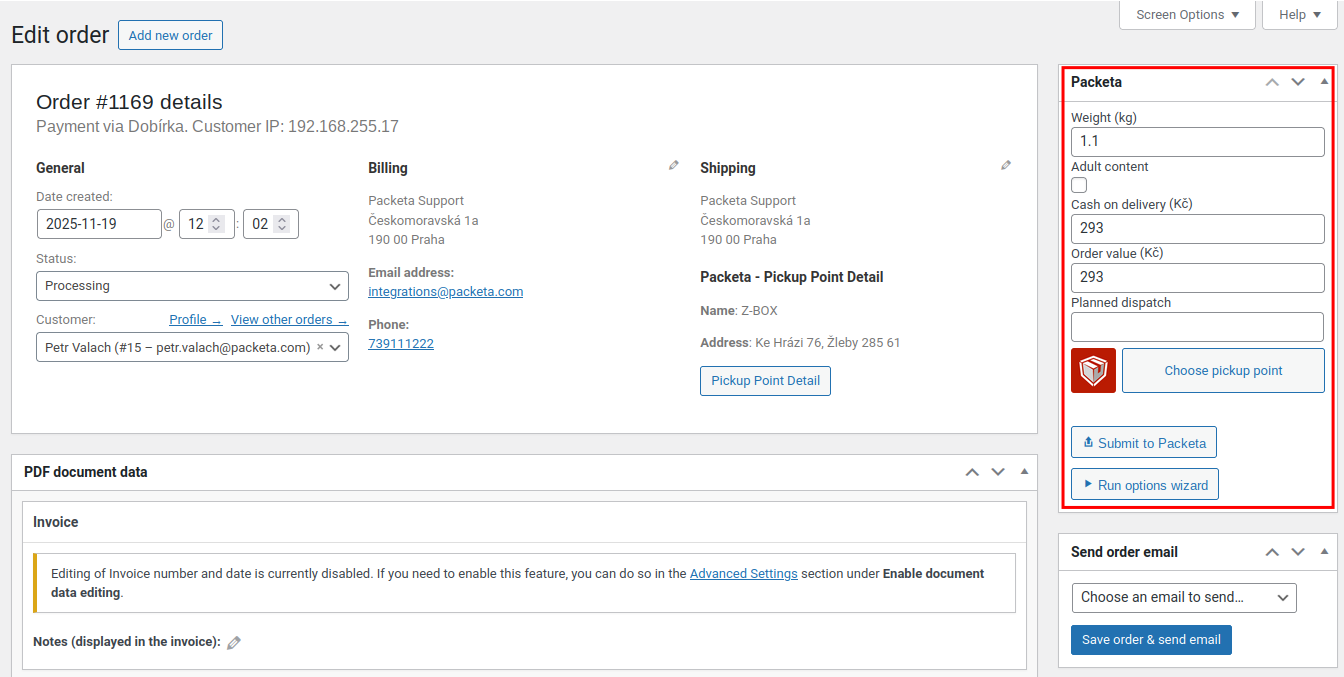
You can add missing information by clicking the order. This opens the detail, where you can add the weight. You can also verify the address and further edit the order.
Plugin Update
In Plugins → Plugin Overview → Available Updates, find the Packeta plugin. Click Run automatic update.
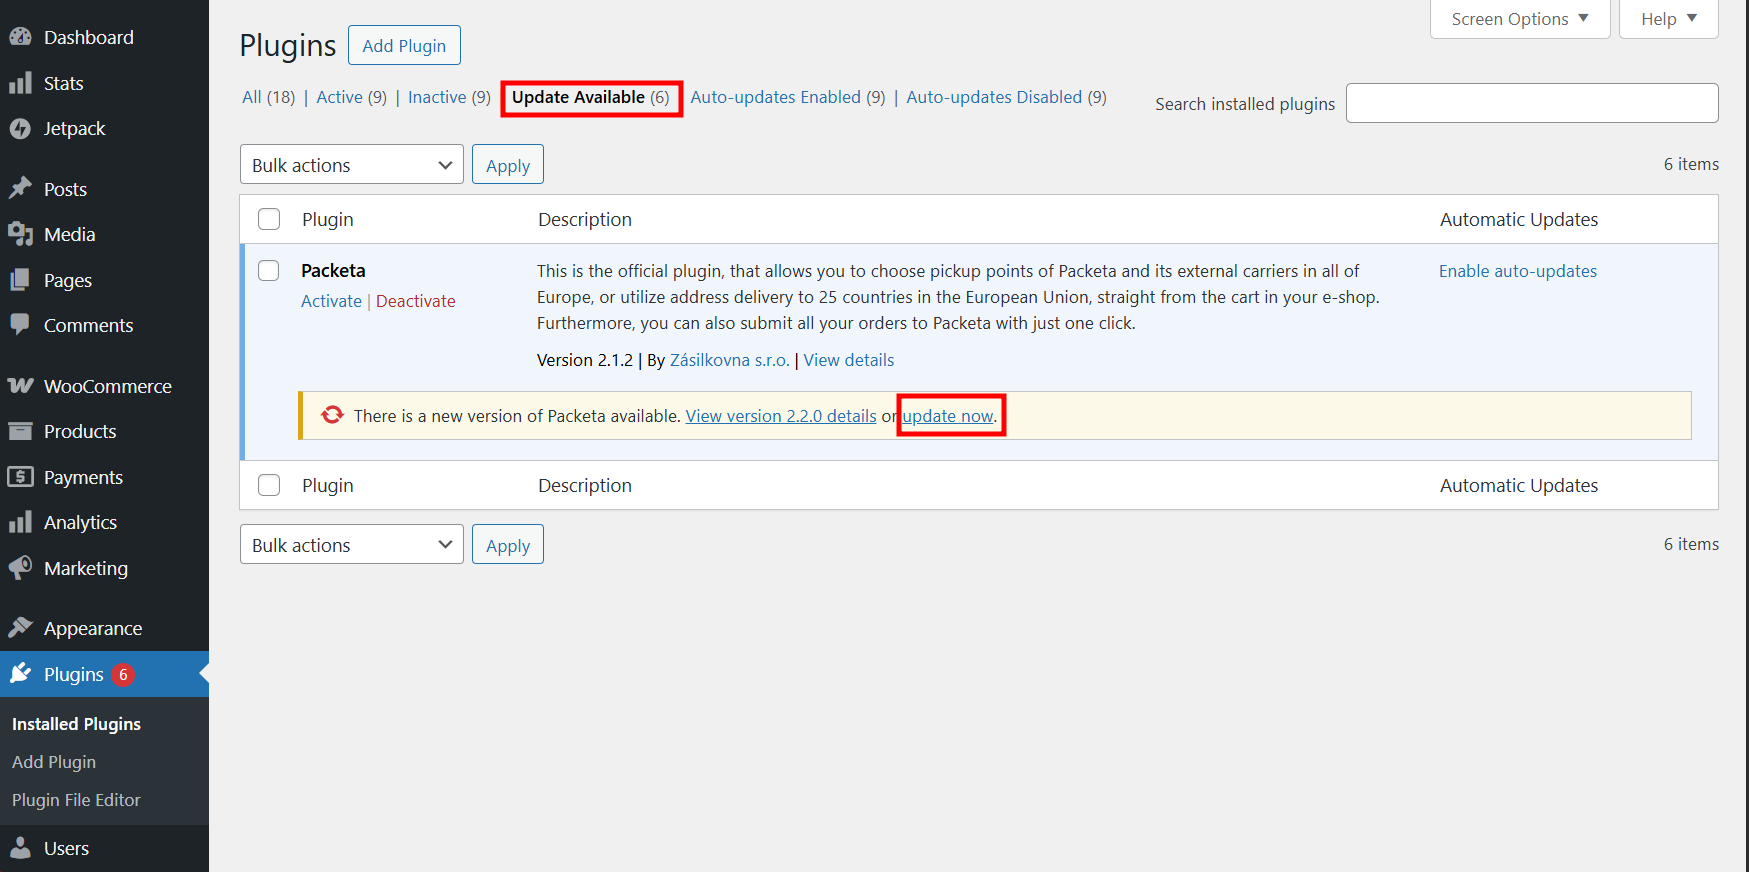
After a successful update, you will see a confirmation message.
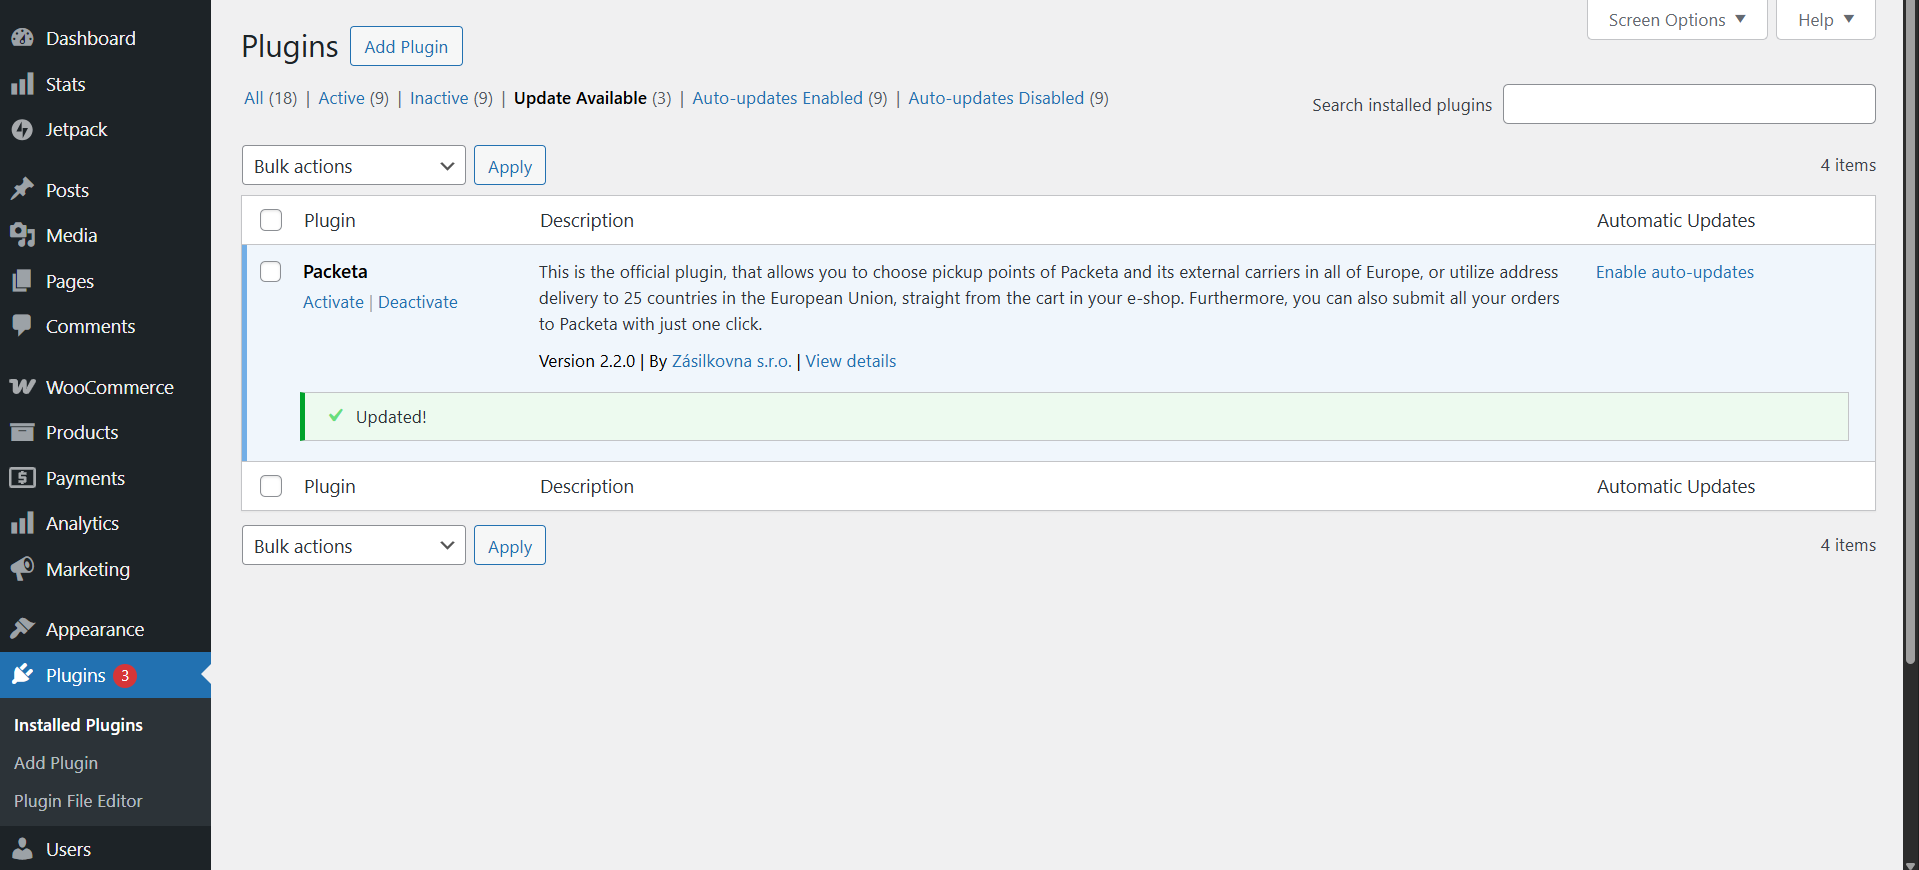
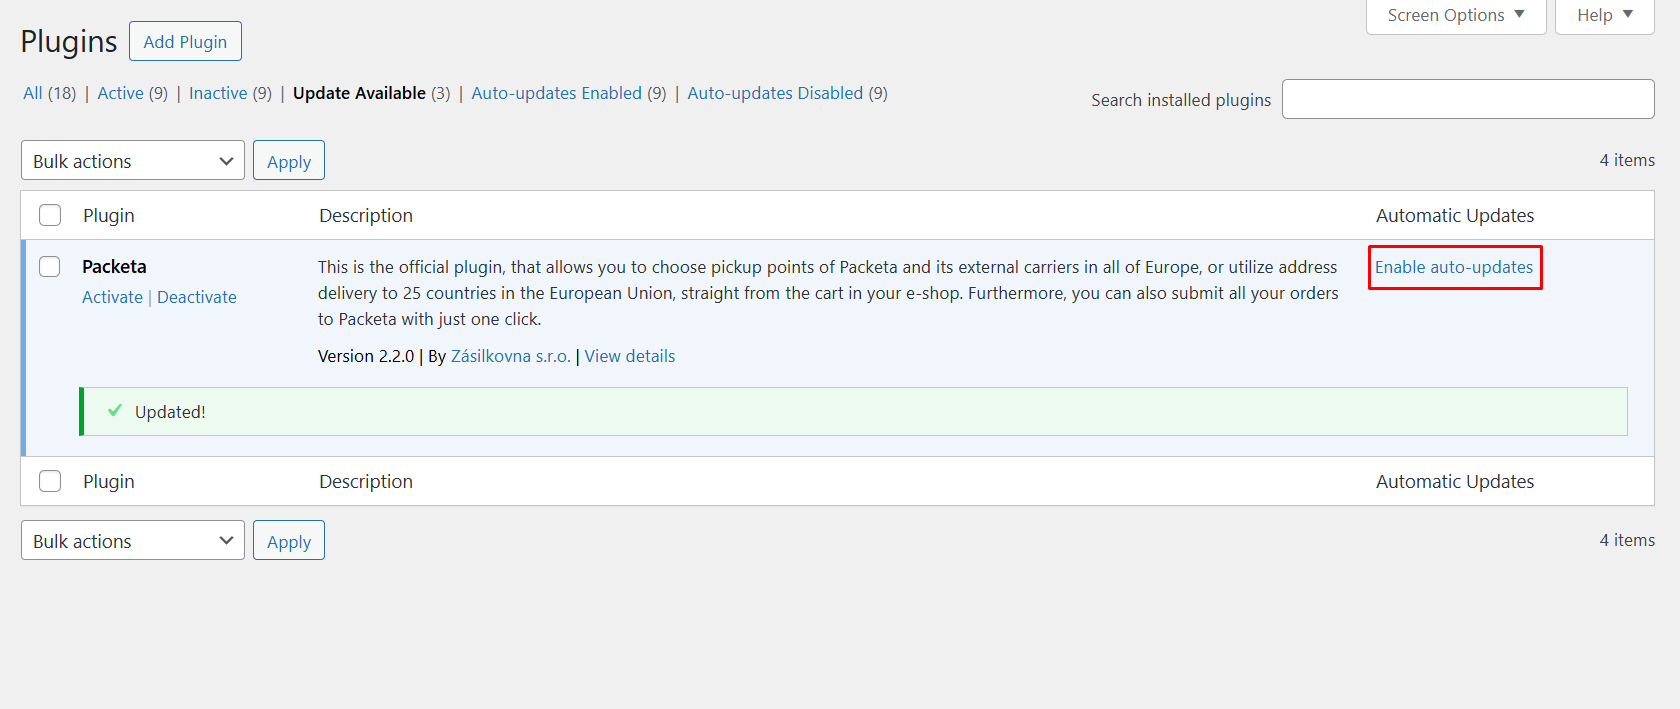
On the right side of the Packeta plugin window, you can enable automatic updates. This ensures you will always have the latest version of the plugin.
Didn't find what you're looking for? Reach out to our integration support team at integrations@packeta.com.